Here are 5 simple steps to creating your own website using Hugo, Github and Netlify on a MacOS. This tutorial assumes that you have or installed the following: 1) a Github account, 2) Netlify account, and 3) Git.
Step 1 Install necessary dependencies
Open terminal, and follow instructions on the official documentation to install the pacakge manager homebrew. Once you have sucessfully installed hombrew, type: brew install hugo in your terminal.
brew install hugo
type which hugo to check if it has been sucessfully installed. also type hugo version to check its version.
Step 2 Create a new site
On terminal, navigate to the folder where you wish to store/host your site locally. To do this, first check where you are in the directory by typing pwd, then simply type cd to change to the desired location. there, create a new site by typing hugo new site [insert_your_site_name_here]. for example:
hugo new site anotherblog
this command generates a static site folder named “anotherblog” inside my home directory.
Step 3 Pick a theme and use it
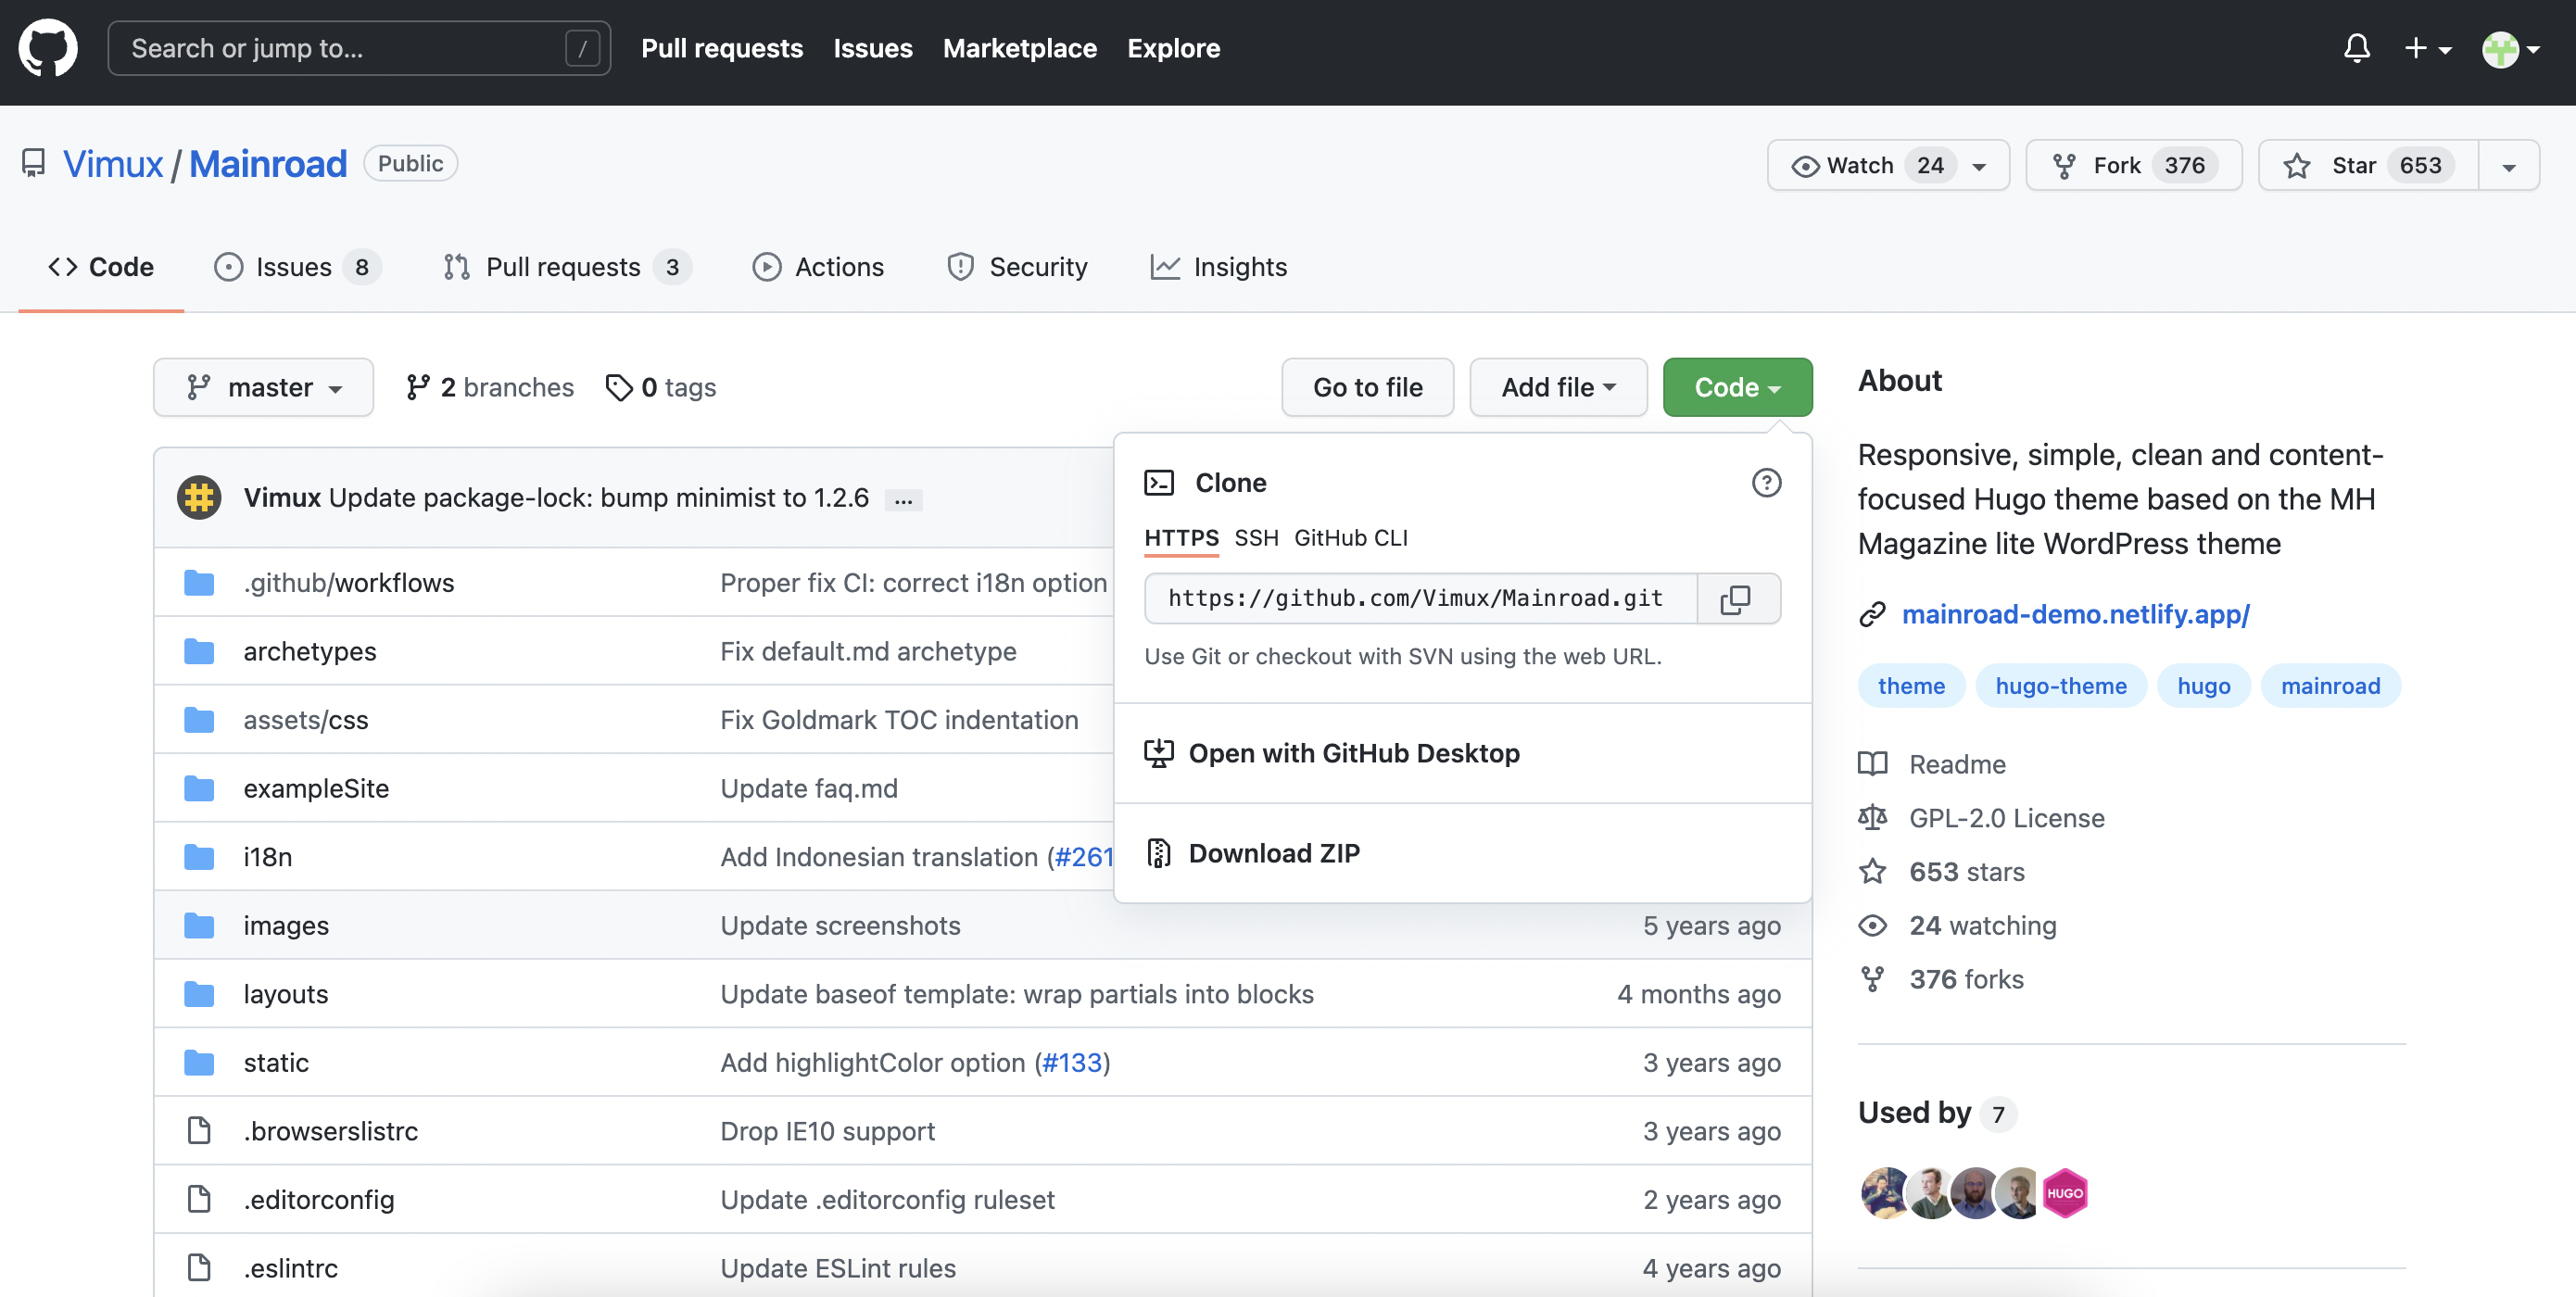
Choose a Hugo theme. navigate to its Github repo by clicking the “download” button. These Hugo themes usually come with a readme file that instructs the best way to install the theme, e.g. using git clone or git submodule add. The theme I am using is called mainroad.

Using terminal, navigate to the root directory of the site you’ve created (e.g. type cd anotherblog). once you are inside, copy and paste the link copied from Github and install the theme by running git submodule add [url_to_the_theme]. for me, it looked like the following:
git submodule add https://github.com/vimux/mainroad.git themes/mainroad
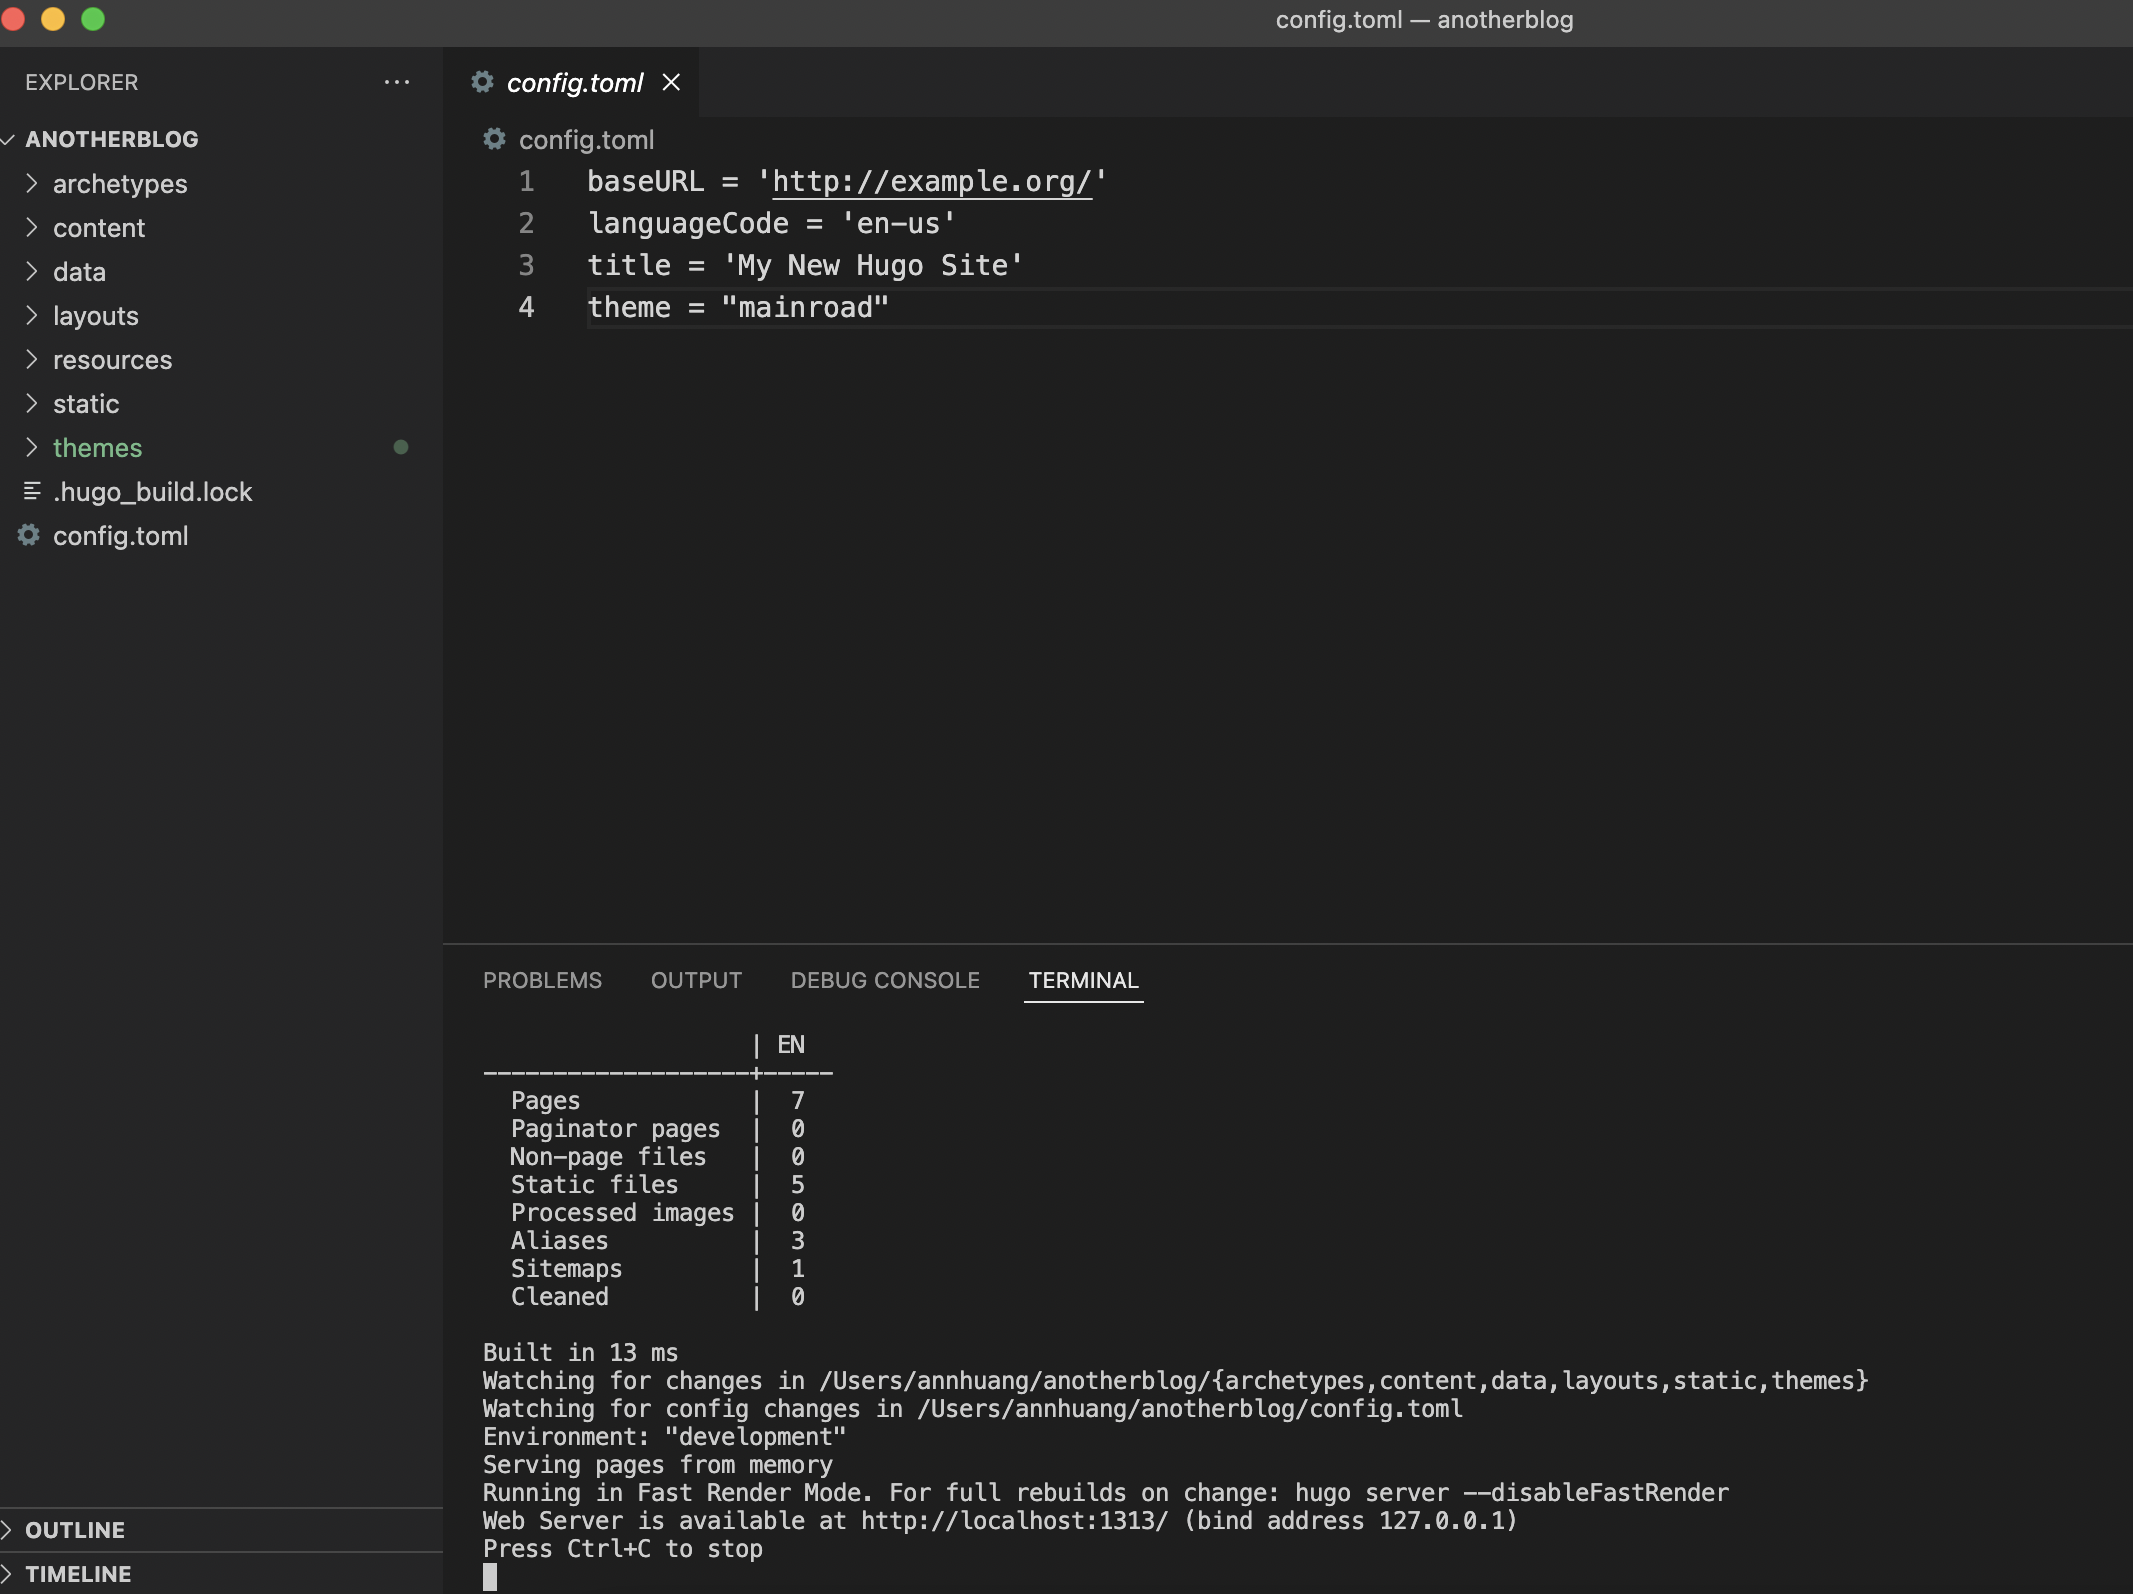
Once it is installed, use any source code editor, e.g. atom or visual studio code to open and make changes to the hugo site (“anotherblog”) you have created just now. you should see the default folders including archetypes, content, static, etc. importantly, you should see the theme you have downloaded in the themes folder. then find and click on the config.toml file, and type the name of your theme:
theme = "mainroad"
you may preview the site locally by running:
hugo server
you should see that the web server is available at //localhost:1313/. copy and paste it into your brower to preview.

You may create a post or do whatever you’d like to your new site. you could follow the examplesite included in the themes/mainroad folder. for example, try copying the about.md file and paste it inside the content folder underneat archetypes. you should see an “about” page on the local web server.
Step 4 Link your site to Github
Before committing and pushing the changes to Github, create a submodule path in .gitmodules. in the home directory of your site, simply click create new file, and name it .gitmodules. inside my .gitmodules file looks like this:
[submodule "themes/mainroad"]
    path = themes/mainroad
    url = https://github.com/vimux/mainroad.git
This is an important step because it creates a mapping reference to the source repository, which will later allow a successful deployment via Netlify. For more information see this post on stack overflow.
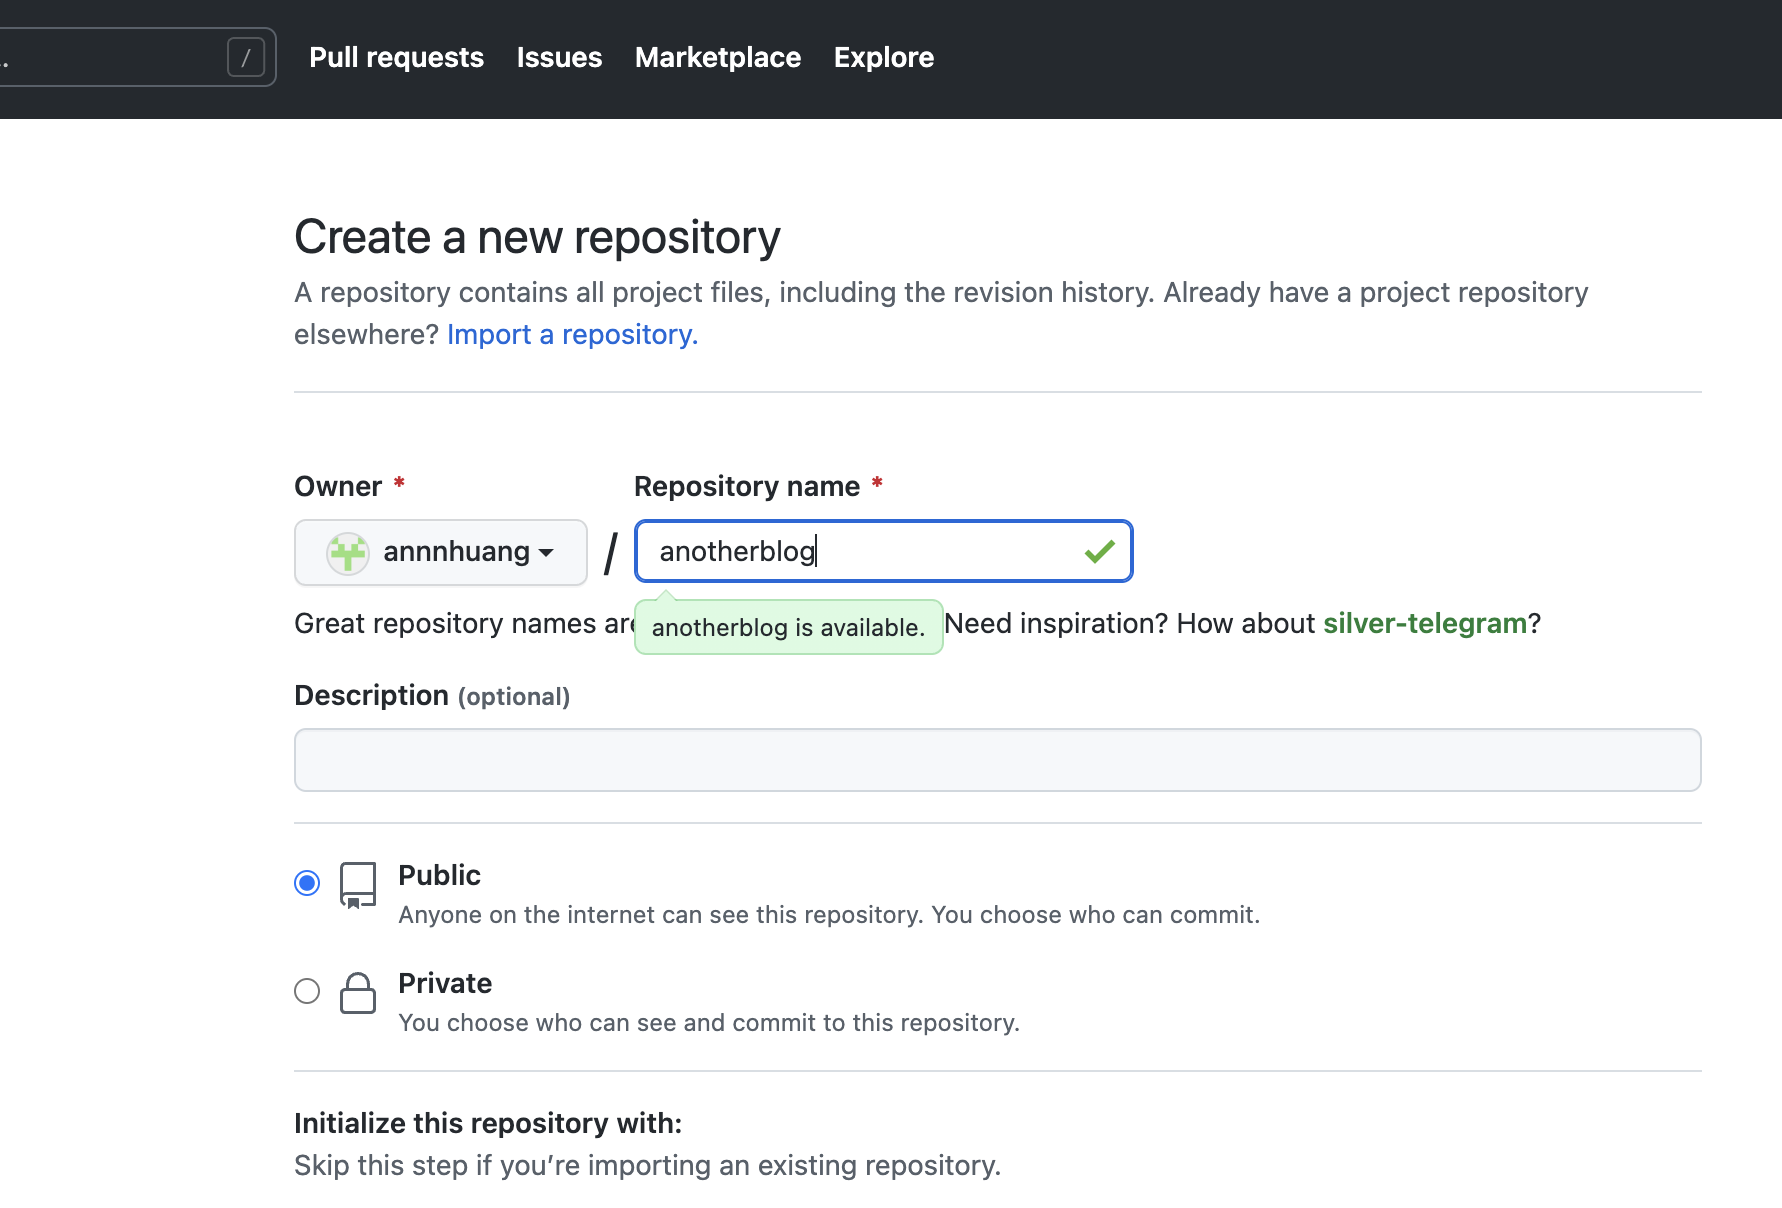
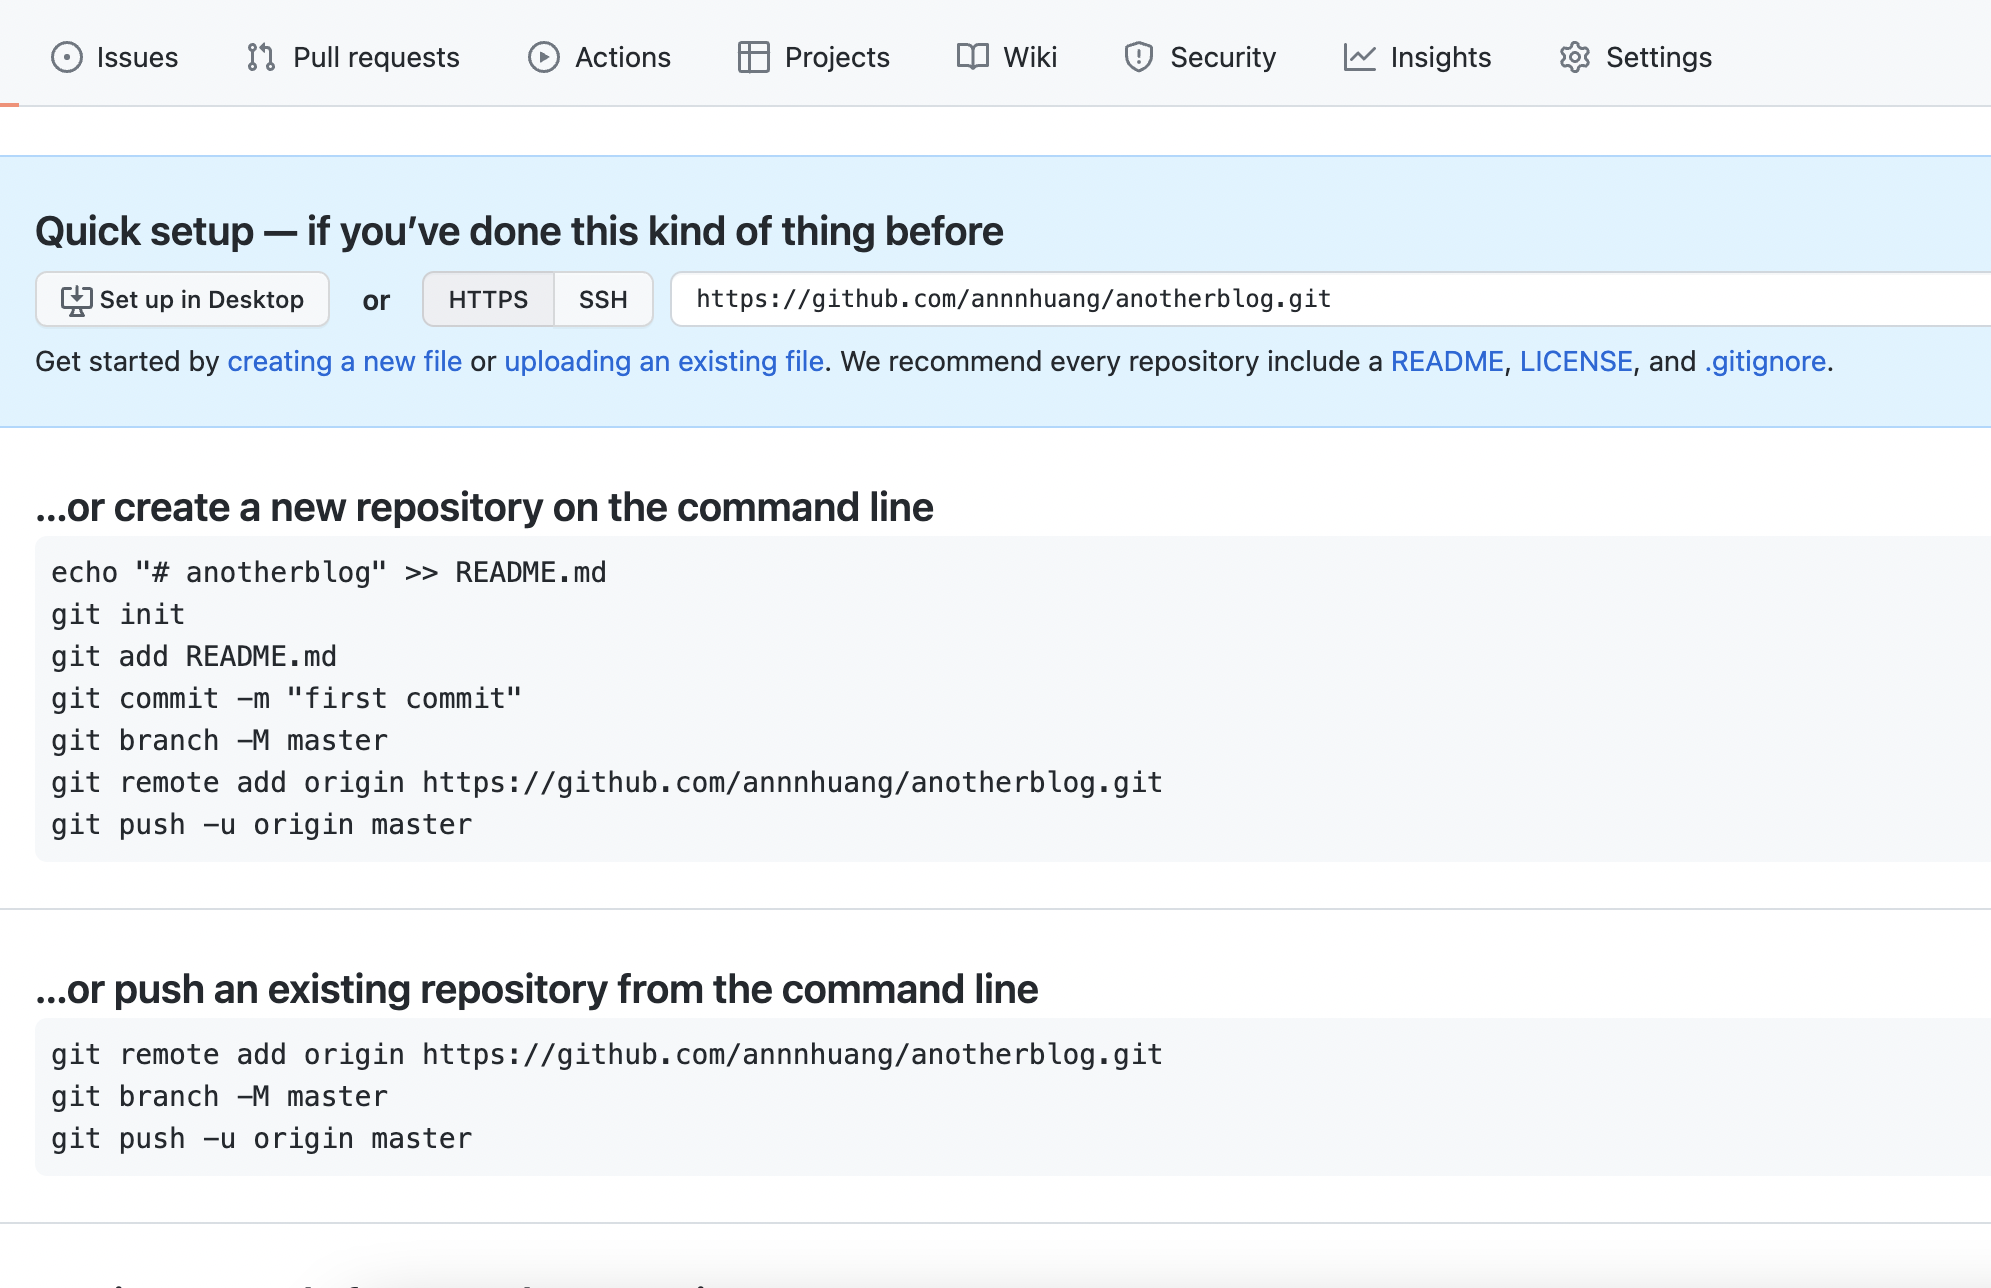
Go to your Github account, and create a repository with a name you want. then follow instructions on Github to link the repository to the local folder.


Essentially, you’d want to push your hugo site to the Github repo. below are some quick keys i use to track the changes i’ve made, commmit them and push them onto the Github repo using the git command. more tips on how to use git can be found here.
git init
git remote add origin [url_of_your_site_on_github]
git status
git add .
git commit -m “changes made first time”
git push origin master
Step 5 Continuous deployment via Netlify
Publish your site using Netlify by following the simple steps presented on the Netlify page. essentially it links the github repos of your hugo site and makes a continuos deployment out of it. everytime you make changes in your code editor, just make sure to always add, commit and push (using git) all the changes to the Github repo.